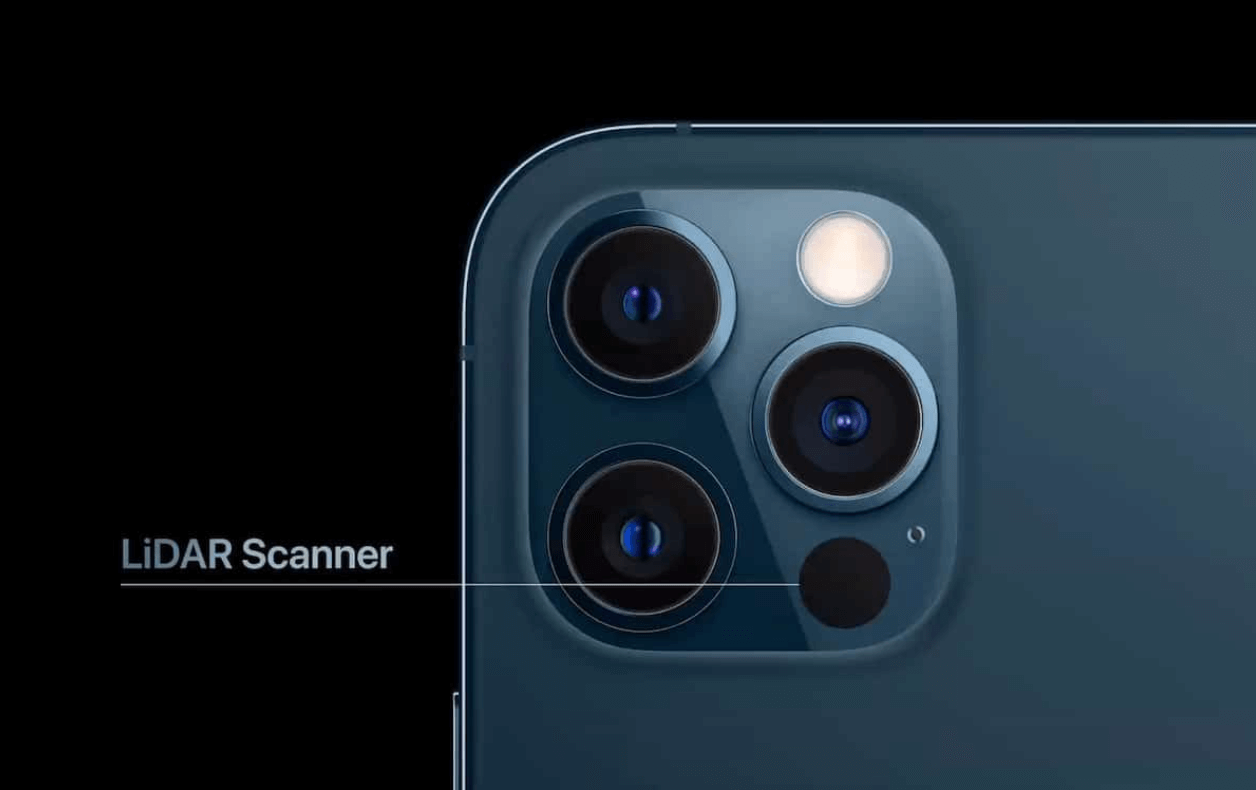
Since 2017, Apple have supported depth maps in the images its iPhones capture either via LiDAR scanners, 3D time-of-flight scanner-less LIDAR or structured-light 3D scanning.
These depth maps, along with other imagery, are stored in High Efficiency Image File Format (HEIF) container files. These files can contain multiple images and vast amounts of metadata. This format was originally designed between 2013 and 2015 and Apple adopted its HEIC variant in 2017.
Since then, HEIC files are the default storage container format for images captured on the iPhone. But with that said, it is possible to use the JPEG format instead if things like depth maps and HDR are not of interest.
Finn Jaeger, who is the head of VFX at Replayboys, a film production firm in Hamburg, Germany, posted a screenshot a few weeks ago showing how multiple depth maps were being produced by his iPhone.
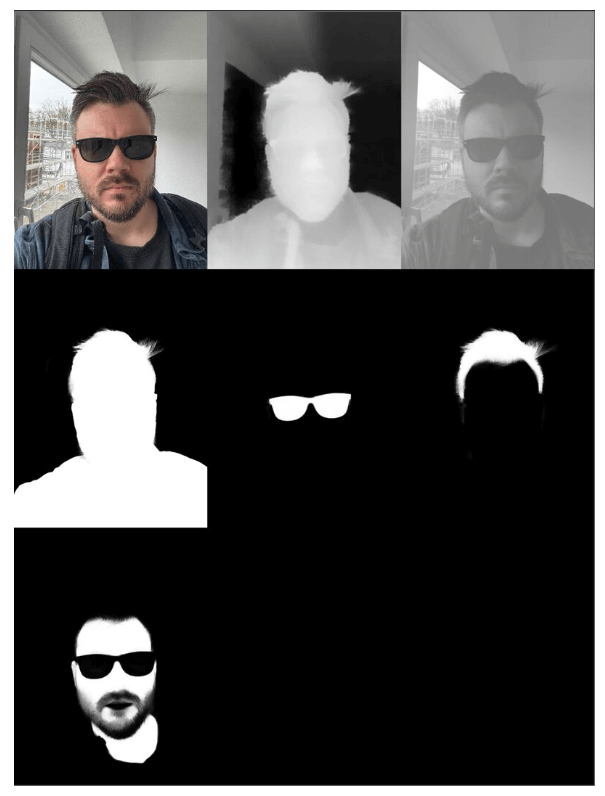
He announced he was working on a project called HEIC Shenanigans. This project contains scripts to separate out images and their metadata from HEIC containers as well as convert them into EXR Files. As of this writing, the project contains 374 lines of Python.
In this post, I'll walk through Finn's codebase with an example image from an iPhone 15 Pro.
My Workstation
I'm using a 5.7 GHz AMD Ryzen 9 9950X CPU. It has 16 cores and 32 threads and 1.2 MB of L1, 16 MB of L2 and 64 MB of L3 cache. It has a liquid cooler attached and is housed in a spacious, full-sized Cooler Master HAF 700 computer case.
The system has 96 GB of DDR5 RAM clocked at 4,800 MT/s and a 5th-generation, Crucial T700 4 TB NVMe M.2 SSD which can read at speeds up to 12,400 MB/s. There is a heatsink on the SSD to help keep its temperature down. This is my system's C drive.
The system is powered by a 1,200-watt, fully modular Corsair Power Supply and is sat on an ASRock X870E Nova 90 Motherboard.
I'm running Ubuntu 24 LTS via Microsoft's Ubuntu for Windows on Windows 11 Pro. In case you're wondering why I don't run a Linux-based desktop as my primary work environment, I'm still using an Nvidia GTX 1080 GPU which has better driver support on Windows and ArcGIS Pro only supports Windows natively.
Installing Prerequisites
I'll use Python 3.12.3 and a few other tools in this post.
$ sudo add-apt-repository ppa:deadsnakes/ppa
$ sudo apt update
$ sudo apt install \
    jq \
    openexr \
    libimage-exiftool-perl \
    libopenexr-dev \
    python3-pip \
    python3.12-venv
Note, the libimage-exiftool-perl package installs exiftool version 12.76+dfsg-1 which was released at the end of January 2024. Since then, there have been at least ten releases that have addressed issues or enhanced exiftool's HEIC support.
The above version should work fine for the steps in this post but be mindful that any issues you encounter going forward might be resolved with a more up to date version of exiftool.
I'll be using JSON Convert (jc) to convert the output of various CLI tools into JSON.
$ wget https://github.com/kellyjonbrazil/jc/releases/download/v1.25.2/jc_1.25.2-1_amd64.deb
$ sudo dpkg -i jc_1.25.2-1_amd64.deb
I'll clone Finn Jaeger's HEIC Shenanigans repo.
$ git clone https://github.com/finnschi/heic-shenanigans \
    ~/heic-shenanigans
I'll set up a Python Virtual Environment and install a few dependencies.
$ python3 -m venv ~/.iphone_depth
$ source ~/.iphone_depth/bin/activate

$ python3 -m pip install -r \
    ~/heic-shenanigans/requirements.txt
$ python3 -m pip install \
    OpenImageIO
I'll use DJV v2.0.8 to view EXR imagery produced in this post.
An iPhone 15 Pro Image
Joel Joseph, a subject matter expert on the ArcGIS Desktop Products Suite in Mumbai, India, was kind enough to send me an HEIC-contained image he took on his iPhone 15 Pro. I'll use this image in this post. Below is a screenshot.

Extracting the Gain Map
The HEIC file Joel provided is 1.57 MB.
$ python ~/heic-shenanigans/gain_map_extract.py \
    IMG_E2153.HEIC
The following files were produced by the above command.
 14K  IMG_E2153_metadata.json
433K  IMG_E2153_depth_0.tiff
5.9M  IMG_E2153_hdrgainmap_48.tiff
 71M  IMG_E2153_base.tiff
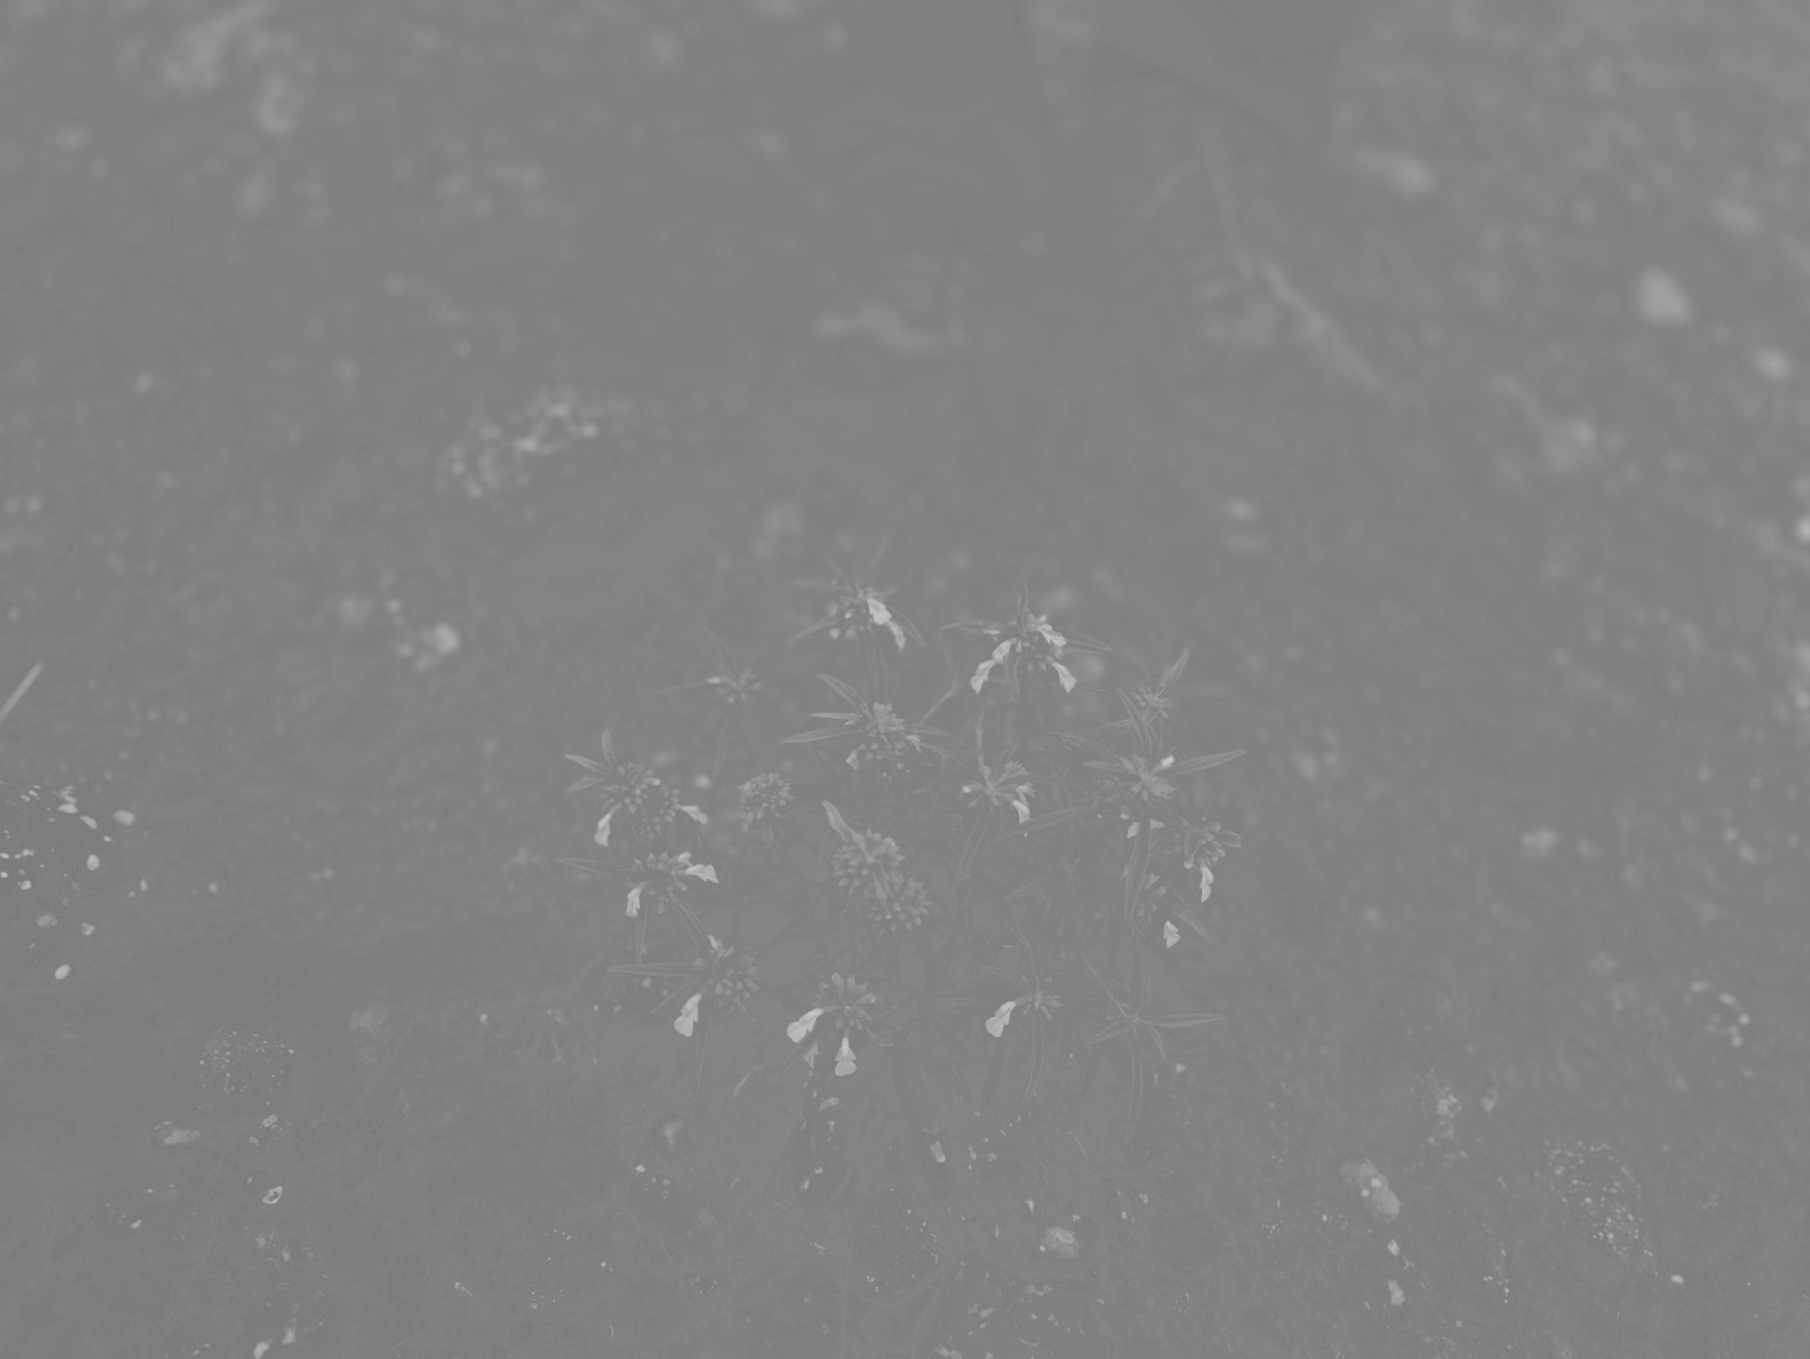
Below is the base image.
The following is its EXIF metadata for the above base image.
$ exiftool IMG_E2153_base.tiff | jc --kv | jq -S .
{
  "Bits Per Sample": "8 8 8",
  "Compression": "Uncompressed",
  "Directory": ".",
  "Exif Byte Order": "Little-endian (Intel, II)",
  "ExifTool Version Number": "12.76",
  "File Access Date/Time": "2025:06:04 19:43:35+03:00",
  "File Inode Change Date/Time": "2025:06:04 18:52:29+03:00",
  "File Modification Date/Time": "2025:06:04 18:52:29+03:00",
  "File Name": "IMG_E2153_base.tiff",
  "File Permissions": "-rwxrwxrwx",
  "File Size": "73 MB",
  "File Type": "TIFF",
  "File Type Extension": "tif",
  "Image Height": "4284",
  "Image Size": "5712x4284",
  "Image Width": "5712",
  "MIME Type": "image/tiff",
  "Megapixels": "24.5",
  "Photometric Interpretation": "RGB",
  "Planar Configuration": "Chunky",
  "Rows Per Strip": "4284",
  "Samples Per Pixel": "3",
  "Strip Byte Counts": "73410624",
  "Strip Offsets": "140"
}
The following is a screenshot of the HDR Gain Map. Note the original image was 5712 x 4284-pixels but HDR Gain Map is only 2856 x 2142-pixels.
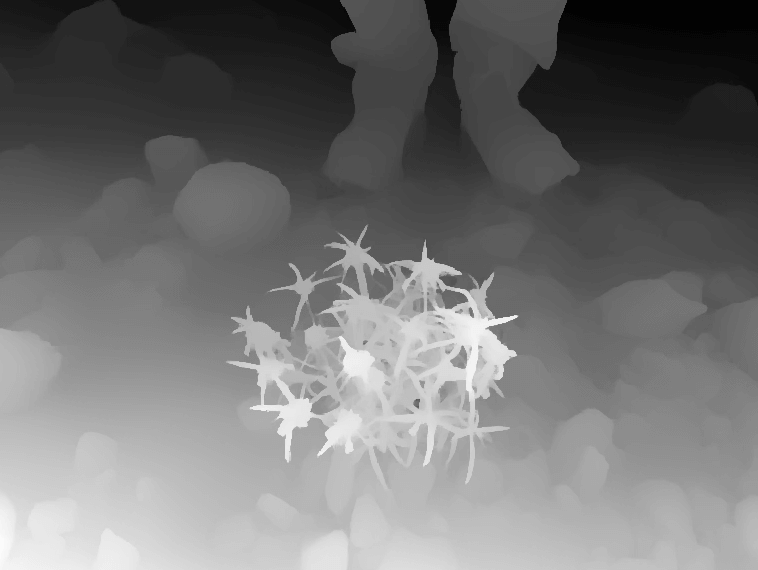
The following is a screenshot of the Depth Map. Note the original image was 5712 x 4284-pixels but the depth map is only 768 x 576-pixels.
Below is the JSON metadata with the base64 values truncated.
$ jq -S '.. |= (if type == "string" then .[0:40] else . end)' \
    IMG_E2153_metadata.json
{
  "aux_images": {},
  "depth_images": [],
  "exif": "RXhpZgAATU0AKgAAAAgACwEPAAIAAAAGAAAAkgEQ",
  "icc_profile": null,
  "info": {
    "aux": {
      "urn:com:apple:photo:2020:aux:hdrgainmap": [
        48
      ]
    },
    "bit_depth": 8,
    "chroma": 420,
    "exif": "RXhpZgAATU0AKgAAAAgACwEPAAIAAAAGAAAAkgEQ",
    "nclx_profile": {
      "color_primaries": 12,
      "color_primary_blue_x": 0.15000000596046448,
      "color_primary_blue_y": 0.05999999865889549,
      "color_primary_green_x": 0.26499998569488525,
      "color_primary_green_y": 0.6899999976158142,
      "color_primary_red_x": 0.6800000071525574,
      "color_primary_red_y": 0.3199999928474426,
      "color_primary_white_x": 0.3127000033855438,
      "color_primary_white_y": 0.32899999618530273,
      "full_range_flag": 1,
      "matrix_coefficients": 6,
      "transfer_characteristics": 1
    },
    "primary": true,
    "xmp": "PHg6eG1wbWV0YSB4bWxuczp4PSJhZG9iZTpuczpt"
  },
  "primary": {
    "mode": "RGB",
    "size": [
      5712,
      4284
    ],
    "stride": 17136
  },
  "xmp": "PHg6eG1wbWV0YSB4bWxuczp4PSJhZG9iZTpuczpt"
}
I've raised three tickets asking to decode the base64-encoded values into human-readable form.
Converting an HEIC into EXR
The Academy Software Foundation fosters various open source projects and standards used in film, television and other creative industries. Its members include the Academy of Motion Picture Arts and Sciences, Disney, Nvidia and Netflix to name a few.
Below is a screenshot of their landscape of projects.

One of their projects is OpenEXR, a high-dynamic range (HDR) image file format. It was originally developed by Industrial Light and Magic (ILM) in 1999 and was later made open source in 2003. It's used in producing visual effects and 3D renderings.
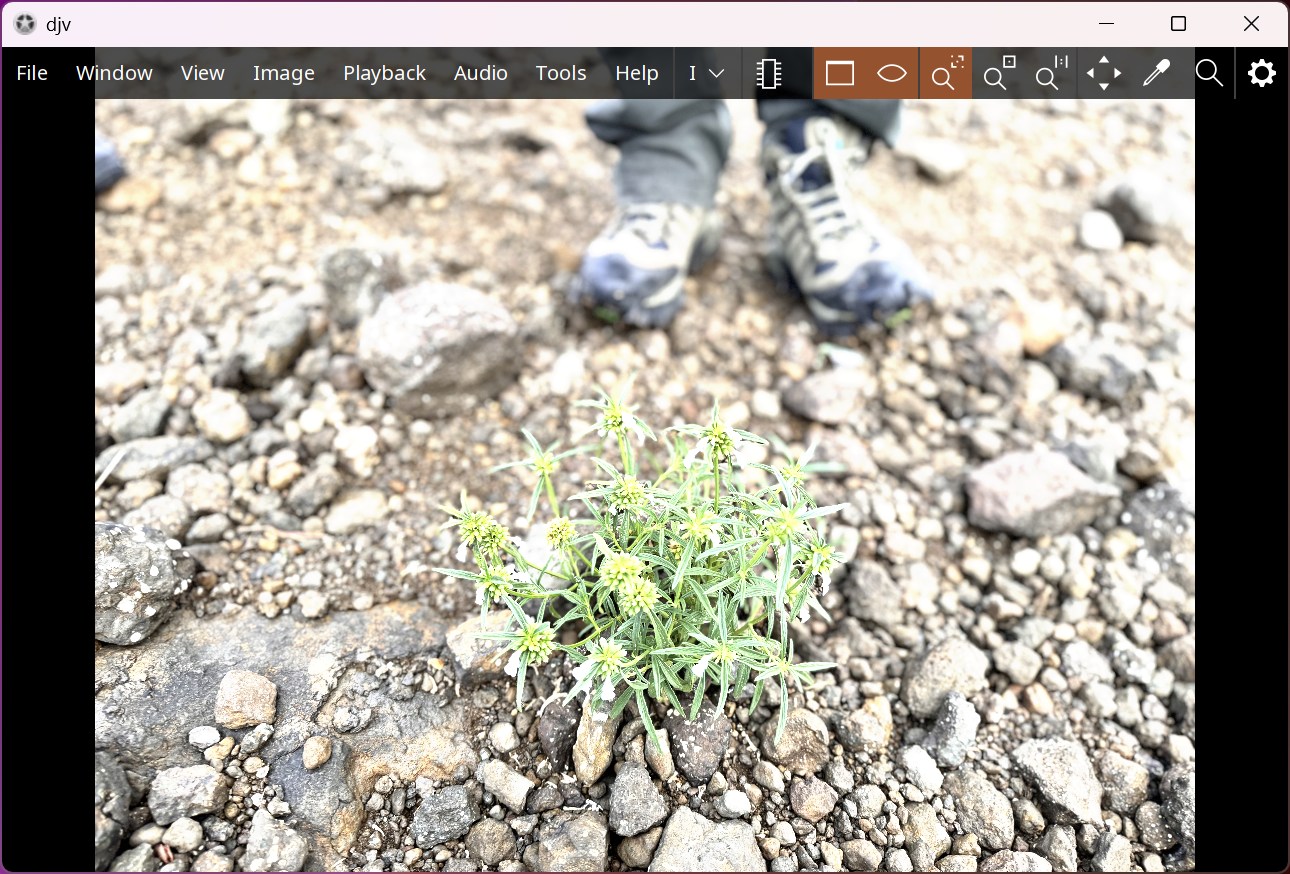
Below I'll convert iPhone 15 Pro image into an OpenEXR file.
$ python ~/heic-shenanigans/heic_to_exr.py \
    IMG_E2153.HEIC
The resulting file is 468 MB. Below is a screenshot of it in DJV.
The above file was produced by making several calls to oiiotool, an image processing tool from the OpenImageIO project, which is also apart of the Academy Software Foundation.
Below I've annotated the calls to oiiotool made by the above script.
The script will first get the dimensions of the source image.
$ oiiotool --info /tmp/tmpc3kmiaka/input_base.tiff
It will then produce a base image, converting the source image from an sRGB curve through Linear P3 and onto ACEScg.
$ oiiotool /tmp/tmpc3kmiaka/input_base.tiff \
    --ch R,G,B \
    --chnames sdr.R,sdr.G,sdr.B \
    --colorconfig studio-config-v1.0.0_aces-v1.3_ocio-v2.1.ocio \
    --colorconvert 'sRGB - Texture' 'Linear Rec.709 (sRGB)' \
    --colorconvert 'Linear P3-D65'  'ACES - ACEScg' \
    -o /tmp/tmpc3kmiaka/base.exr
The above OCIO file is an OpenColorIO colour profile file. OpenColorIO, also under the Academy Software Foundation, is a colour management suite. The project provides several reference configurations including one from the Academy Color Encoding System (ACES). The OCIO file is text-based and contains 1,242 lines of content.
$ head studio-config-v1.0.0_aces-v1.3_ocio-v2.1.ocio
ocio_profile_version: 2.1

environment:
  {}
search_path: ""
strictparsing: true
luma: [0.2126, 0.7152, 0.0722]
name: studio-config-v1.0.0_aces-v1.3_ocio-v2.1
description: |
  Academy Color Encoding System - Studio Config [COLORSPACES v1.0.0] [ACES v1.3] [OCIO v2.1]
Then, an EXR-based gain map will be produced by converting the source HDR gain map from Rec709 curve to Linear.
$ oiiotool /tmp/tmpc3kmiaka/input_hdrgainmap_50.tiff \
    --ch Y \
    --chnames gainmap.Y \
    --resize 4032x3024 \
    --colorconfig studio-config-v1.0.0_aces-v1.3_ocio-v2.1.ocio \
    --ocionamedtransform 'Rec.709 - Curve' \
    -o /tmp/tmpc3kmiaka/gainmap.exr
That gain map will then be converted into RGB by duplicating the Y channel three times.
$ oiiotool /tmp/tmpc3kmiaka/gainmap.exr \
    --ch gainmap.Y,gainmap.Y,gainmap.Y \
    --chnames gainmap.R,gainmap.G,gainmap.B \
    -o /tmp/tmpc3kmiaka/gainmap_rgb.exr
Then, the HDR gain map's headroom value will be extracted.
$ exiftool -HDRGainMapHeadroom -b /tmp/tmpc3kmiaka/input_base.tiff
The gain map will then be scaled using the inverse of the HDR headroom value captured above.
$ oiiotool /tmp/tmpc3kmiaka/gainmap_rgb.exr \
    --mulc -0.12135654640000004 \
    --addc 1.0 \
    -o /tmp/tmpc3kmiaka/gainmap_scaled.exr
Then, the base image will be multiplied by the scaled gain map to create an HDR base image.
$ oiiotool /tmp/tmpc3kmiaka/base.exr \
           /tmp/tmpc3kmiaka/gainmap_scaled.exr \
           --mul \
           --chnames R,G,B \
Then, the Y channel from the depth map will be used to create an EXR-formatted depth map.
$ oiiotool /tmp/tmpc3kmiaka/input_depth_0.tiff \
    --ch Y \
    --chnames depth.Y \
    --resize 4032x3024 \
    -o /tmp/tmpc3kmiaka/depth.exr
If the source image contained mattes they would be processed at this stage.
The first step in constructing the final EXR file starts by copying in the RGB channels from the EXR-formatted HDR base image.
$ oiiotool /tmp/tmpc3kmiaka/hdr_base.exr \
    --ch R,G,B \
    -o /tmp/tmpc3kmiaka/final.exr
Then the SDR channels are added.
$ oiiotool /tmp/tmpc3kmiaka/final.exr \
           /tmp/tmpc3kmiaka/base.exr \
      --ch sdr.R,sdr.G,sdr.B \
      --siappend \
      -o /tmp/tmpc3kmiaka/final.exr
Then the gain map is added.
$ oiiotool /tmp/tmpc3kmiaka/final.exr \
           /tmp/tmpc3kmiaka/gainmap_rgb.exr \
      --ch gainmap.R,gainmap.G,gainmap.B \
      --siappend \
      -o /tmp/tmpc3kmiaka/final.exr
Then the depth map is added.
$ oiiotool /tmp/tmpc3kmiaka/final.exr \
           /tmp/tmpc3kmiaka/depth.exr \
      --ch depth.Y \
      --siappend \
      -o /tmp/tmpc3kmiaka/final.exr
If there were any matte layers, they would be added here.
The final.exr file is then moved to a <prefix>_acesCG.exr file alongside the source imagery.